Composing a message within the web portal is similar to most other online email tools in that it provides an editor to construct a formatted email to send to the recipient. The Identillect web portal however also provides custom Authentication Choices and Security Controls that allow the sender limit the how the recipient can access and interact with the email. Features such as requiring the recipient to provide a 4 digit security code before they can access the email or removing the ability for the sender to forward the email are just two of the options available to the sender in the compose screen.
Video Tutorial
How To: Compose a Message via Identillect.com
Instructions
The compose screen is available from anywhere in the web portal by accessing the menu at the top of the screen. There you will find the menu items Compose, Inbox, Sent, Drafts, Trash and Contacts. Clicking on any of these menu items will immediately direct you to that screen. In this case we are interested in the Compose menu item.
1. Click on Compose menu item

2. This will bring up the email editor allowing the sender to provide a list of recipients, a subject, attachments and a formatted email body. Access to the Cc and Bcc fields are available in the top right of the email editor. Authentication and Security options are located on the right side of the screen to add an extra layer of security to the email. For more information on how to use this feature see xxx.
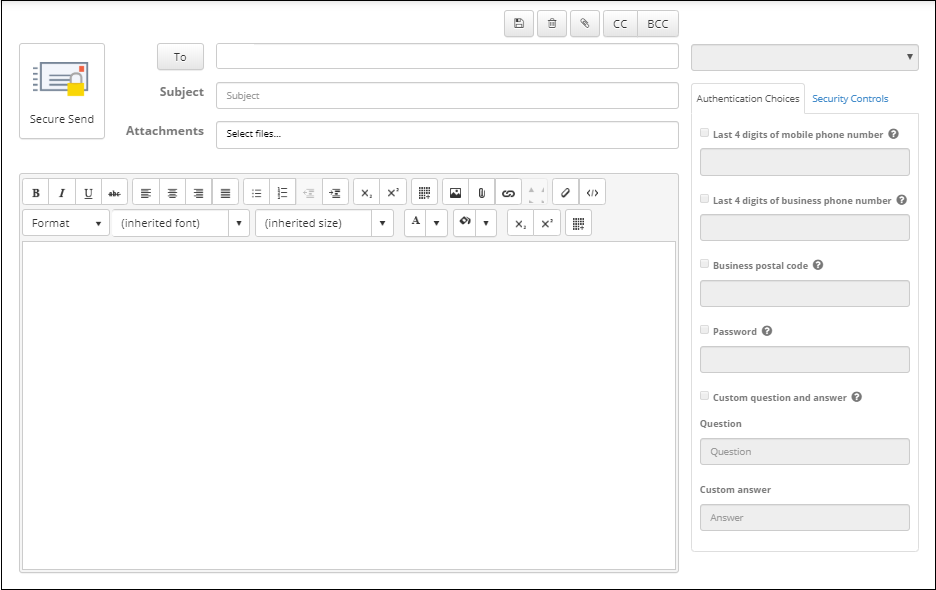
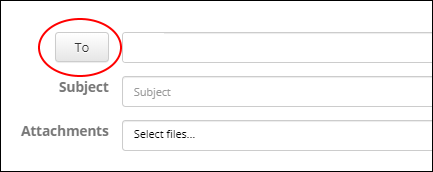
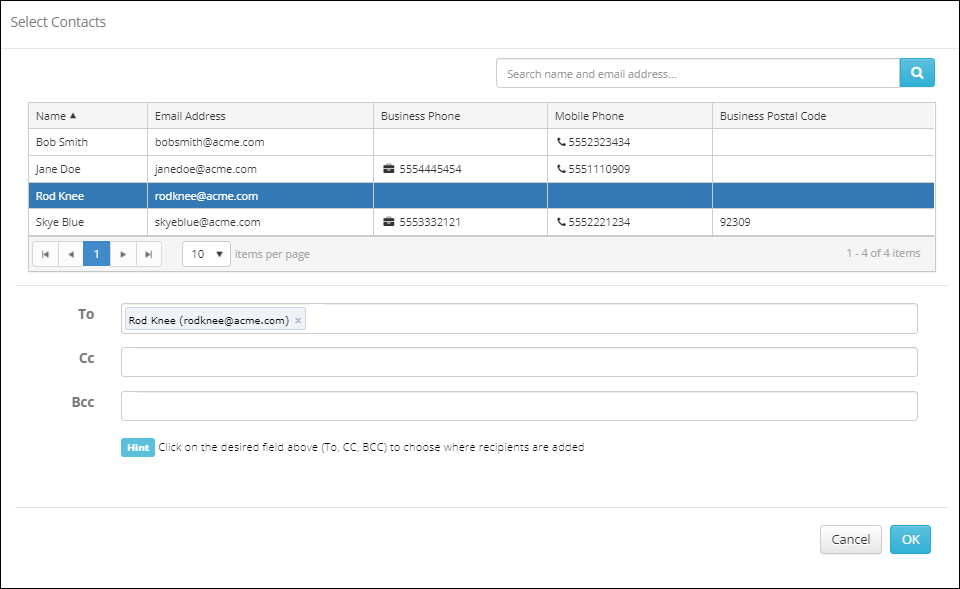
4. The To field allows you to type in the email address(s) of the recipients separated by a semicolon. If you want to choose the recipients from your stored contacts or recent emails you can click on the To button. This will popup a search window and a list of available contacts. Each email you select from the provided list will be placed in the To field (the same is true for the Cc and Bcc fields). Once you are done selecting the emails click on the OK button to return to the email editor.
5. Attach an email (optional)
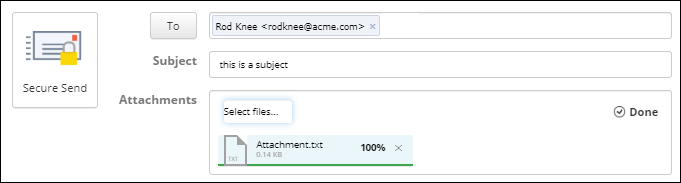
Before you send the email you can attach one or more files. This can be done by clicking on the Attachments field to search for the file(s) you wish to add. Optionally you can drag and drop files into the Attachments field where they will be loaded and attached to the email.
6. Adjust the Authentication and Security options. These options can be modified at any time to the senders specifications.
7. Once your email is complete click on the Send Secure button to send the email.
Related Topics
Gmail Add-In: Compose a New Secure Email
Outlook Add-In: Compose a New Secure Email